

How to Safely Change a RazorSafe Blade in the Field (3 Steps)
Last updated: September 2026Changing a RazorSafe blade takes three steps and about 5 seconds: pull the locking pin, slide the old blade off, slide the new blade on until the pin clicks. The whole exchange is hands-off the cutting edge if you do it right. Here's the safe method, including cold-weather notes and the disposal step most hunters skip.
The 3-step blade change
Every RazorSafe blade change uses the same motion regardless of whether you are on a RazorMax, a RazorLite, or any other handle in the system. Do it once at the kitchen table before opening day so the field version is muscle memory, not improvisation.
-
Push the blade release button. Hold the handle in your dominant hand with the blade pointing away from your body. With your other hand, push the blade release button until you feel it disengage.
- Keep the blade edge angled away from your fingers, not toward them.
- If the pin feels stiff, brush off any tissue, blood, or grit at the pin slot before pulling harder.
- Do not put your fingers in front of the blade tip while you release the pin.
-
Slide the old blade off. With the button depressed, grip the tip of the old blade between your thumb and forefinger and slide it straight off the handle in line with the blade axis. You will never touch the edge if you grip the tip.
- Pull along the handle's axis, not at an angle. The blade exits the same way it went in.
- If the blade sticks because of dried blood or hide debris, work it gently. Do not pry.
- Set the used blade on a stable surface with the edge pointing away, or slide it directly into a PVC cover (see step on disposal below).
-
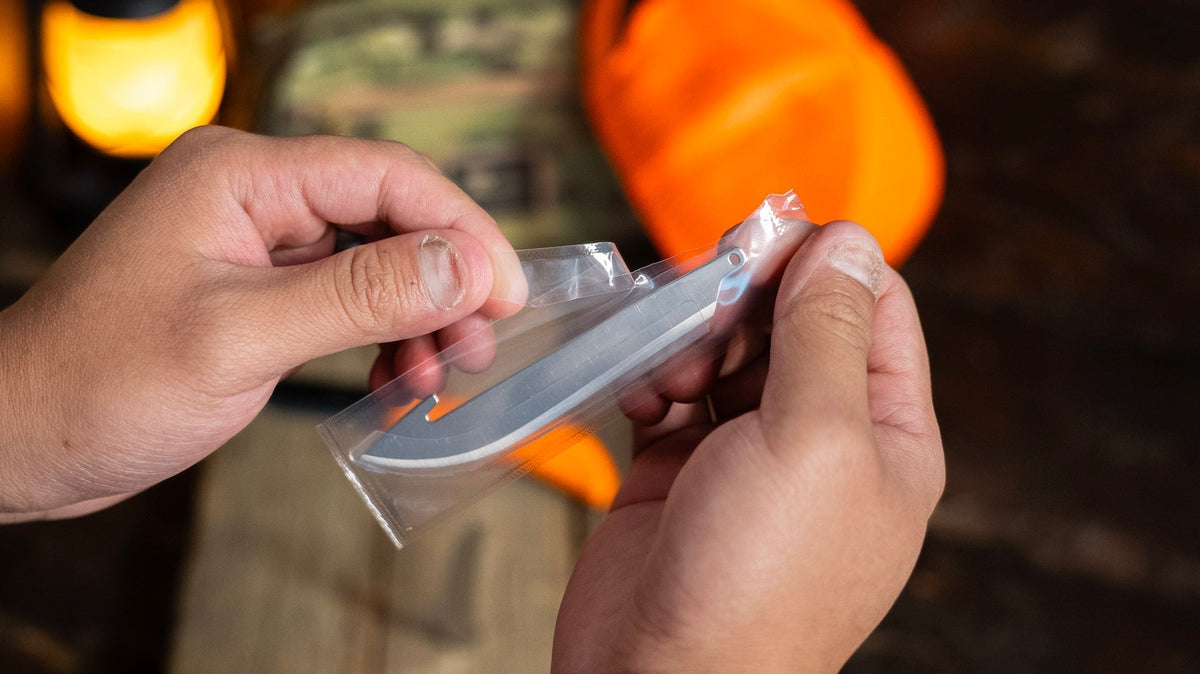
Slide the new blade on until the pin clicks. Take a fresh blade from the pack by the tip. Align it with the handle's blade slot. Push it onto the handle along the same axis the old one came off. The locking pin will click into the blade's pin-hole when it seats. Tug the blade lightly to confirm it locked.
- The blade only fits one way.
- A real click means the pin engaged. No click means try again.
- Confirm lock by pulling on the tip. The blade should not move.
Why it takes 5 seconds, not 5 minutes
Hunters used to stones, strops, and sharpeners overestimate how long a blade swap should take. The system was engineered so that an experienced user can pull, swap, and lock in under 5 seconds without setting the knife down. The reason is simple. You should be able to swap a blade quickly, not stop the work to set up a sharpening station.
The first three swaps are slow. By the fifth, your hands know the motion. By the tenth, you do not think about it. This is why care and maintenance stays simple: there is no sharpening curve to maintain.
Cold weather: what changes when your hands are frozen
The mechanics of the blade change do not change in the cold. What changes is your grip strength, your fine motor control, and the lubrication state of the pin. Three rules cover it:
- Warm your hands first. A 30-second hand warmer hold or 10 seconds inside your jacket against your chest restores enough dexterity to handle the pin and the blade spine safely.
- Brush ice and tissue off the blade holder slot. Frozen blood is the most common reason a pin sticks in the field. A quick wipe with a glove or a snow rub clears it.
- Stage the new blade before you pull the old one. Have the new blade out of the pack, in PVC cover, set on a stable surface within reach. You do not want to be fumbling with packaging when your hands are slow.
Gloves: when to wear them
Cut-resistant nitrile or HPPE gloves are worth wearing for the swap itself if you have them in the pack. They do not replace good technique, but they cover the one moment where a slip can cost you a stitch: the half-second the used blade is loose in your fingers. For routine swaps in good conditions, bare hands give better feel. For cold, wet, or blood-slick conditions, glove up.
Do not wear bulky cotton or wool gloves during the swap. They reduce control of the button and make you more likely to drop the blade onto a boot, a leg, or the ground.
What to do with the used blade right away
The used blade is still a sharp blade. The single biggest cause of cuts during processing is a used blade left loose on a tailgate, gambrel, or game bag where someone reaches for a tool and finds the edge instead. Two-second rule applies here.
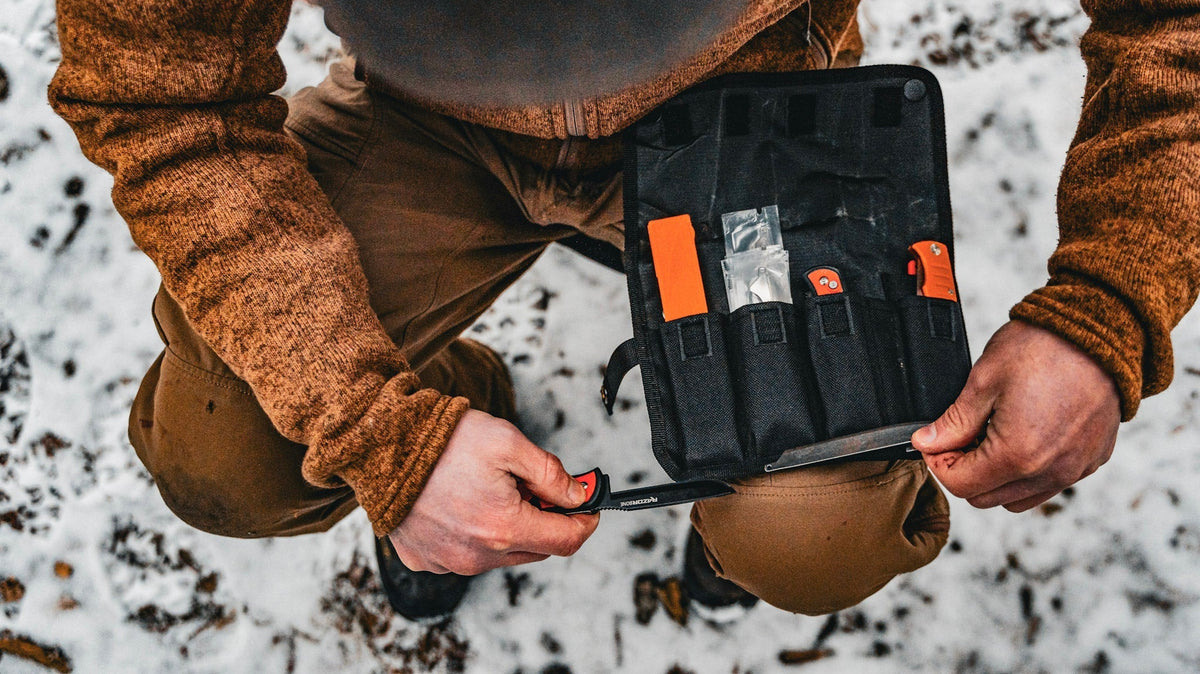
Every RazorSafe blade pack ships with a PVC cover. Slide the used blade straight into that cover the moment it comes off the handle. Put the covered blade into a rigid sharps container or a labeled side pocket of your pack until you can dispose of it at home. The full method is in our used-blade disposal guide.
Safety dos and don'ts
| Do | Don't |
|---|---|
| Hold the blade by the tip | Touch or grip the cutting edge |
| Push the button first, then handle the blade | Try to remove a blade without releasing the button |
| Keep the blade tip pointed away from your body | Brace the knife against your chest, leg, or palm |
| Slide the used blade straight into a PVC cover | Leave the used blade loose on a tailgate or gambrel |
| Confirm the lock with a tug on the spine | Assume the pin engaged without feeling the click |
Where to go next
If you have not picked your knife yet, the RazorMax is the flagship hunting handle and the RazorLite is the everyday folding option. Both use the same locking pin design covered above. For the blade you are about to install, browse the RazorSafe replacement blade collection. For the step after the swap, read care and maintenance and used blade disposal.
Frequently asked questions
How do you change a RazorSafe blade?
Three steps. Push the button to release the blade. Slide the old blade off the handle by gripping the tip, not the edge. Slide a new blade on until the pin clicks into the blade's pin-hole. Confirm the lock with a light tug on the spine. The full exchange takes about 5 seconds with practice.
Can you change a RazorSafe blade with gloves on?
Yes, with cut-resistant nitrile or HPPE gloves. Avoid bulky cotton or wool gloves, which reduce control of the pin and the blade spine. For routine swaps in good conditions, bare hands give the best feel. For cold, wet, or blood-slick conditions, glove up.
Is changing a RazorSafe blade dangerous?
Not if you handle the blade by the tip and use the locking pin. You never need to touch the edge during a swap. The most common cause of cuts is leaving the used blade loose on a surface after the swap, not the swap itself. Cover the used blade in PVC immediately.
What do you do with the used blade in the field?
Slide it straight into the PVC cover that ships with the blade pack. Put the covered blade in a rigid sharps container or a labeled side pocket of your pack. Do not leave it loose on a tailgate, gambrel, or game bag. Full disposal is covered in the used-blade disposal guide.
Can you change a blade with one hand?
It is possible but not recommended. Both hands give you control of the handle, the pin, and the blade spine at the same time. One-handed swaps put the blade in motion without a second hand to catch it if the pin slips. If you only have one hand free, set the knife on a stable surface, pin facing up, and do it in stages.
How often should you change blades during processing?
Whenever you notice the blade dragging instead of slicing. For a whitetail field-dressed and skinned, plan on 1 to 2 blade swaps. For an elk, double that. For boning out at home, expect 1 to 2 more depending on the animal's size and the amount of silver skin. Swap before you ruin a cut, not after.
Author: Outdoor Edge Pro Staff. 2026-09-16.

Leave a comment
This site is protected by hCaptcha and the hCaptcha Privacy Policy and Terms of Service apply.