

How to Skin a Deer: Drop-Point vs. Caping Blade (Step-by-Step)
Last updated: June 2026Skinning a deer is the step where the hunter who watched one YouTube video and the hunter who has done a hundred carcasses look completely different. The difference is mostly the blade in their hand, the angle of the cut, and knowing when to switch knives.
When to skin (immediately, after hanging, or at home)
Three options, three reasons.
Skin immediately in warm weather (above 50 degrees) or when the deer hit the ground far from home and you cannot get it on ice fast. The hide traps heat. Pulling it gets you to a faster cool. The drawback is that exposed meat will form a hard outer rind, and that rind picks up dirt and hair.
The far more common answer is skin after a short hang. Field-dress in the woods, drag or pack to a hanging point at the truck or barn, hoist the deer head up, and let the carcass cool for an hour or two before peeling the hide. This is the cleanest workflow for whitetail in fall temperatures.
The third option is skin at home or at the processor. Hang overnight in cool weather (below 40 degrees), then skin the next day. Cold hide pulls a little tighter and the muscle is firmer, but the work is otherwise the same. This is the common pattern for hunters who shoot late evening and process in the morning.
The one option that is not on the list: skin a deer that has not been field-dressed yet. Gut first, always. Read how to field dress a deer before this article if you skipped that step.
Drop-point vs. caping blade: what each one does
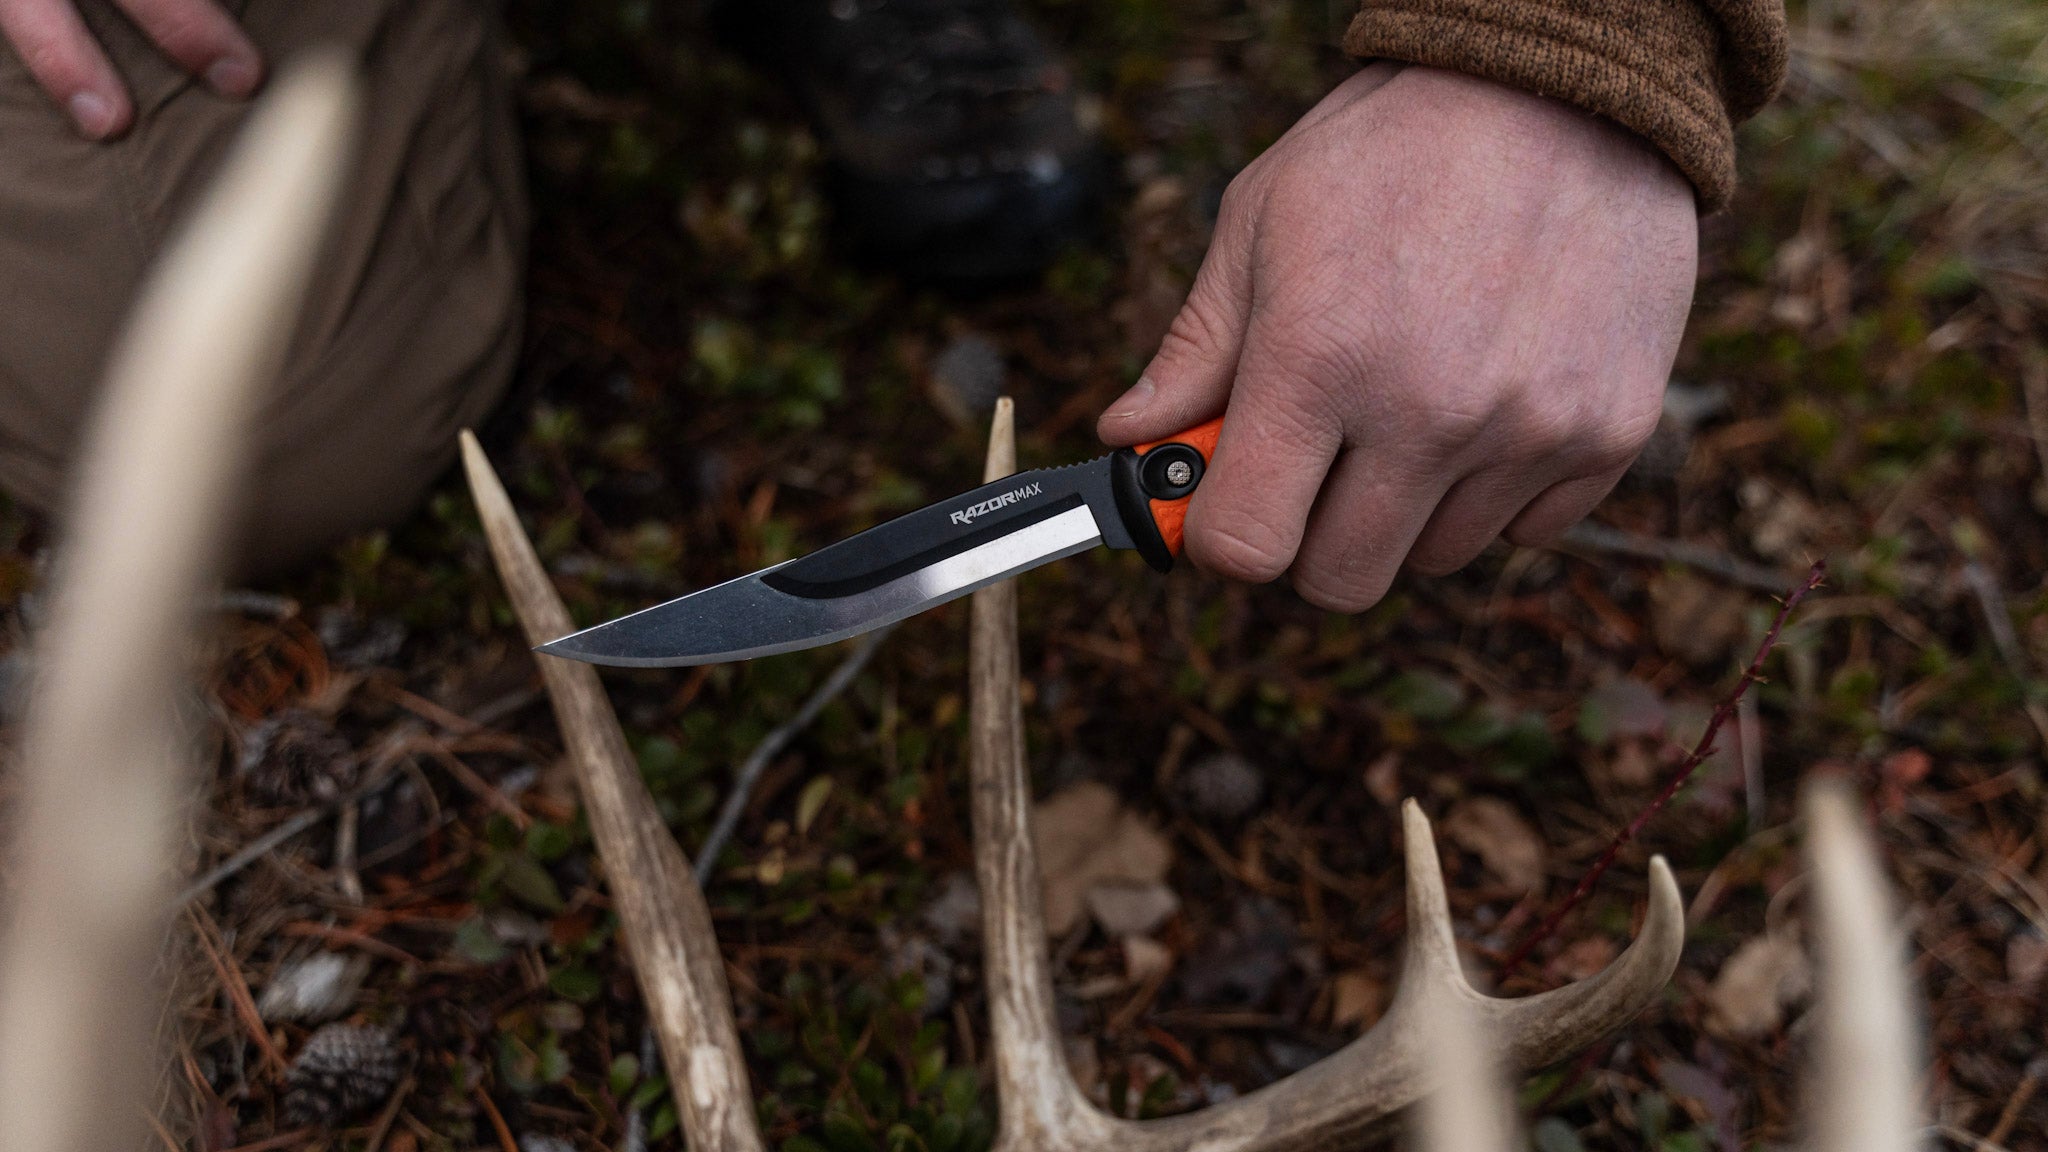
One handle, two blades, two jobs. The drop-point does the body. The caping blade does the head and any work that needs precision and a fine point. Both live on the same RazorSafe handle.
| Spec | Drop-point (350) | Caping (300) |
|---|---|---|
| Blade length | 3.5 inches | 3 inches |
| Point geometry | Low drop, full belly | Fine clip, narrow belly |
| Best for | Body skinning, ride-the-hide cuts, leg seams | Head, neck, ears, eyes, around the antler bases |
| Weakness | Too big for tight work around the face | Too small and fine for long body strokes |
| Size code | 350 (RazorMax) | 300 (RazorCape) |
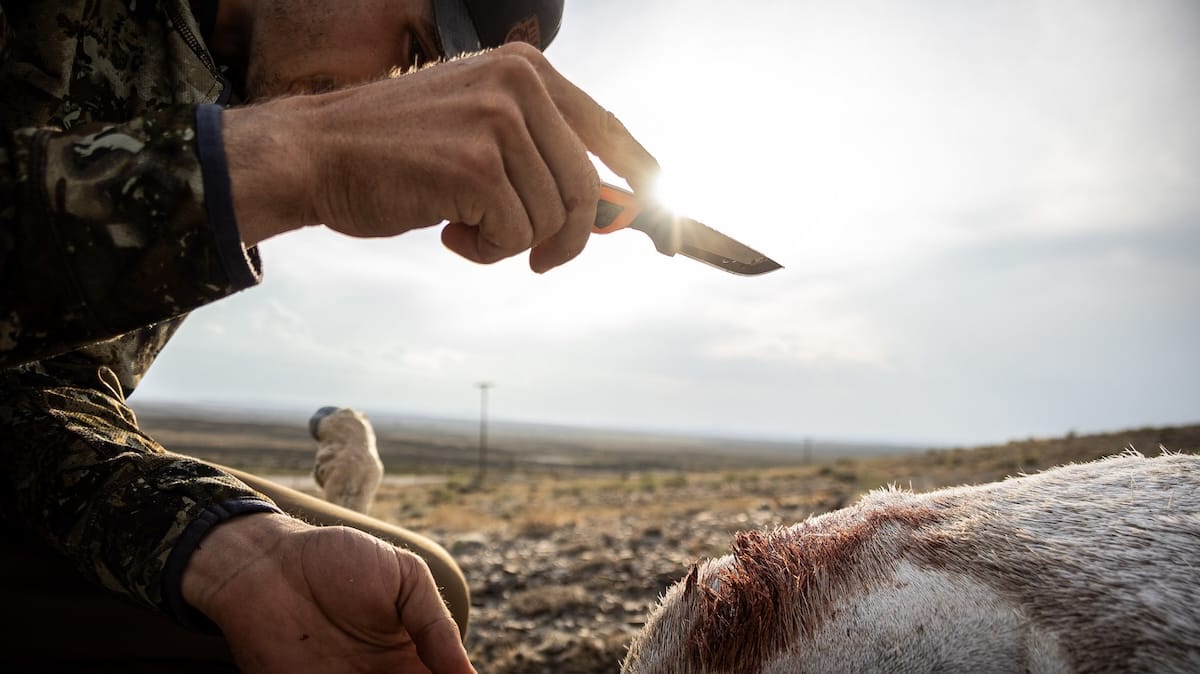
If you are not planning a shoulder mount and do not need to preserve the head or cape, the drop-point alone will skin the entire deer. The caping blade enters the conversation when you are saving the cape for taxidermy or want extra control around the head. For the full profile family, see the RazorSafe blade profiles guide.
Step-by-step: skinning a hanging deer
This is the standard sequence for a deer hung head up by the hocks. If you hang head down (some butchers do), reverse the order and pull the hide toward the ground from the rear legs.
- Hang the deer head up by the hocks. Use a gambrel through the back legs between the tendon and the bone. Get the deer high enough that your hands can work the back legs comfortably without crouching.
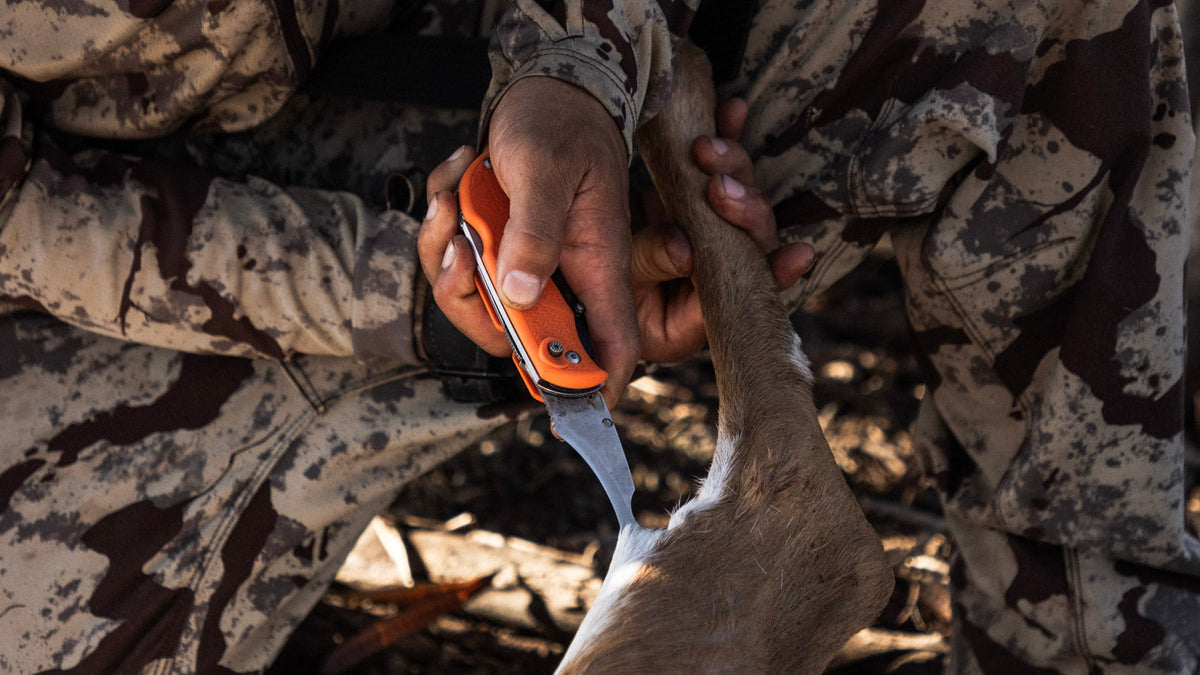
- Ring-cut around each back leg above the hock. With the 350 drop-point, cut a clean ring through the hide all the way around the leg. Then slice from the ring down the inside of the leg toward the cavity opening, meeting the field-dressing cut.
- Start the hide pull at the back legs. Pinch the hide at the ring cut and pull down toward the cavity. Use the blade only to free stubborn spots along the inside of the leg. Most of this is fist and forearm work, not knife work.
- Peel down the back, ribs, and shoulders. Once both back legs are clear, the hide will start pulling cleanly off the rump and back. Work it down with both hands. Use the blade flat against the carcass (edge toward the hide, not the meat) to free fascia where it sticks. Keep the hide stretched as you pull.
- Tuck and tie the hide near the front legs. When the hide reaches the front shoulders, ring-cut the front legs above the knee. Slice down the inside of each front leg to free them. Then pull the hide down to the base of the neck.
- Decide: head-on or head-off? If you are not caping for a mount, cut the neck through skin and meat down to the spine, then twist or saw the head free. Drop the hide and head together. If you are caping for a mount, stop here and read the caping a deer guide. The cape line is farther back than most hunters expect.
- Switch to the 300 caping blade for detail work. If you are saving the head or cape, swap to a fresh 300 blade now. Work around the ears, eyes, antler bases, and lips with the fine point. Take your time. This is where mounts get ruined.
- Final trim and inspect. Once the hide is off, walk the carcass top to bottom with the drop-point. Trim away bloodshot meat, loose hair, and any fascia that came with the hide. Wipe with paper towels or a damp rag. The carcass is now ready for boning out or quartering.
Skinning for a shoulder mount (start here, then read article #4)
If the buck on the gambrel is going on the wall, do not skin past the front shoulder line until you have read the caping article. The standard taxidermy cape needs hide from the brisket, both front shoulders, and the entire neck. A skinning cut that nicks the brisket or runs the wrong direction along the neck shortens the cape and limits what the taxidermist can do.
The short version: ring-cut all four legs above the knee as normal, then make a cut across the back behind the front shoulders (a "shirt cut") and skin everything forward of that cut as a cape. Salt or freeze it within 48 hours. The long version, including the Y cut on the neck and how to free the antler bases, is in the caping article.
Tucking and tying off vs. fist-skinning
There are two schools of body skinning. Both work. The choice is mostly about what is in front of you.
Fist-skinning is the freehand method. You ring-cut, get the hide started, and then pull with both hands while the knife stays mostly in the pocket. It is fast, it is gentle on the meat, and it is the right answer for fresh deer in good condition. The knife only comes out to break stubborn fascia.
Tucking and tying off is the method for stubborn hides (older bucks, cold-stiff carcasses, or deer that have hung longer than a day). Wrap the loose hide around a baseball or a piece of wood, tie a rope to it, and use body weight or a vehicle to pull the hide down while the carcass stays anchored at the gambrel. Fast, brutal, but it works when fist-skinning is fighting you.
Most hunters never need the tied-off method on a fresh deer. Keep it in the back pocket for the day you do.
Mistakes that ruin a hide
Most ruined hides and mounts trace back to four mistakes. All four are preventable on the second deer once you make them on the first.
- Cutting hide-side instead of carcass-side. The blade rides flat against the meat, edge angled into the connective tissue, not the hide. Cutting up into the hide leaves holes and nicks that ruin the cape.
- Skinning too high on the neck before caping. If there is any chance you are mounting the deer, stop at the front shoulder line. Always.
- Working with a dull blade. A dull edge tears fascia instead of slicing it. That tears the hide, leaves hair on the meat, and slows the whole job. Swap to a fresh blade the moment the edge stops cutting cleanly.
- Letting hair touch the meat. Hold the hide away from the carcass as you pull. If hair lands on the meat, do not rub it off (it embeds). Wipe with a damp cloth or trim the affected layer.
RazorMax (350 handle) · 300-code caping blades
Frequently asked questions
When should you skin a deer after killing it?
In warm weather (above 50 degrees), skin as soon as possible after field-dressing to speed cooling. In cool fall weather (below 50 degrees), hang the deer head up for an hour or two first, then skin. In cold weather (below 40 degrees), hanging overnight before skinning is fine and often makes the hide pull cleaner. The deciding factor is always meat temperature, not the calendar.
What's the difference between a drop-point and a caping blade?
A drop-point is a 3 to 3.5 inch general-purpose hunting blade with a low drop in the spine and a full belly, used for body skinning and most field work. A caping blade is a smaller 3 inch blade with a fine clip point and narrow belly, built for precision work around the head, eyes, ears, and antler bases. Most hunters carry both and swap them on the same RazorSafe handle.
How long does it take to skin a deer?
20 to 40 minutes for a hanging whitetail with a sharp 3 to 3.5 inch drop-point. First-timers should plan on an hour. The job goes faster once the hide is started at the back legs and pulled with both fists. Knife time is a small fraction of total skinning time. Most of the work is pulling, not cutting.
Can you skin a deer that's been hung overnight?
Yes, and in cool weather (below 40 degrees) overnight hanging often makes the skinning easier. The hide pulls cleaner, the fascia tightens, and the meat firms up enough to push back against the blade. Avoid hanging unrefrigerated in warm weather (above 50 degrees) where bacteria growth and surface rind become a problem.
How do you avoid putting hair on the meat?
Hold the hide away from the carcass as you pull, so loose hair falls away rather than onto the meat. Keep the blade flat against the carcass with the edge angled toward the fascia, not the hide. If hair lands on the meat, do not wipe it off (it embeds). Use a damp cloth or trim the affected outer layer at the end.
Do I need a caping blade if I'm not mounting the deer?
No. A 3 to 3.5 inch drop-point will skin an entire deer, head included, when no mount is planned. The caping blade earns its place in the kit only when you are saving the cape for taxidermy or doing precision work around the head and antlers. If a shoulder mount is even a possibility, throw the 300-code blades in the pack.
Author: Outdoor Edge Pro Staff. 2026-06-23.

Leave a comment
This site is protected by hCaptcha and the hCaptcha Privacy Policy and Terms of Service apply.