

How to Bone Out a Deer at Home (Step-by-Step Yield Guide)
Last updated: June 2026Boning out at home is the difference between a freezer full of bone-in roasts you will never cook and a freezer full of vacuum-sealed loins, backstraps, and ground meat that disappear by April. Ninety minutes of table time turns one whitetail into a year of dinners.
Why bone out a deer (vs. bone-in storage)
Three honest reasons. Freezer space. Cooking flexibility. Yield clarity.
Freezer space. A bone-in hindquarter is half bone and connective tissue by volume. Boning out the same hindquarter cuts the storage footprint roughly in half. One whitetail boned out fits in a small chest freezer with room left. The same whitetail bone-in fills the freezer and forces tetris.
Cooking flexibility. A boneless ham roast can become a roast, steaks, kabobs, jerky strips, or grind. A bone-in shank can become a braise and not much else. You decide what each muscle becomes after it is off the bone, not before.
Yield clarity. When you bone out, you weigh boneless. You know exactly how much meat is in the freezer and exactly how much ground you have. That clarity matters when you are planning a season's worth of meals or trying to figure out if a hunt was worth the cost of the lease.
The trade-off is time. A bone-in deer hangs in the cooler and then goes straight to a processor. A boned-out deer demands 90 minutes of table time at home. The 90 minutes is the price. The flexibility is the payoff.
Setup and gear (table, gloves, blades, bins)
You can bone a deer on the kitchen counter if that is what you have. A dedicated processing table is better. The list below is what most home processors converge on after their second or third deer.
- Stainless or HDPE table at hip height. Easy to wipe down, easy to bleach after.
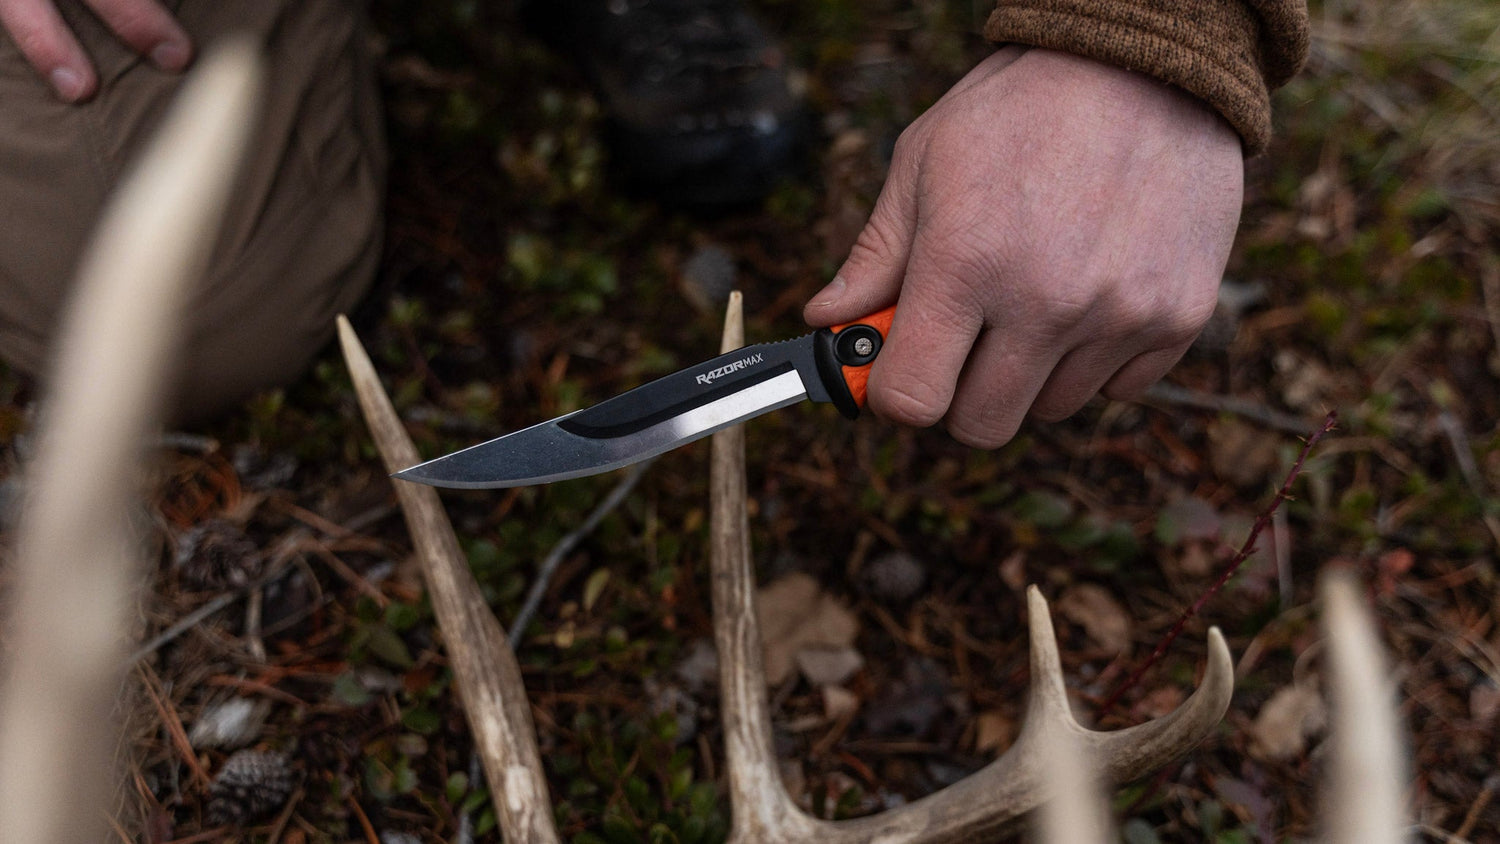
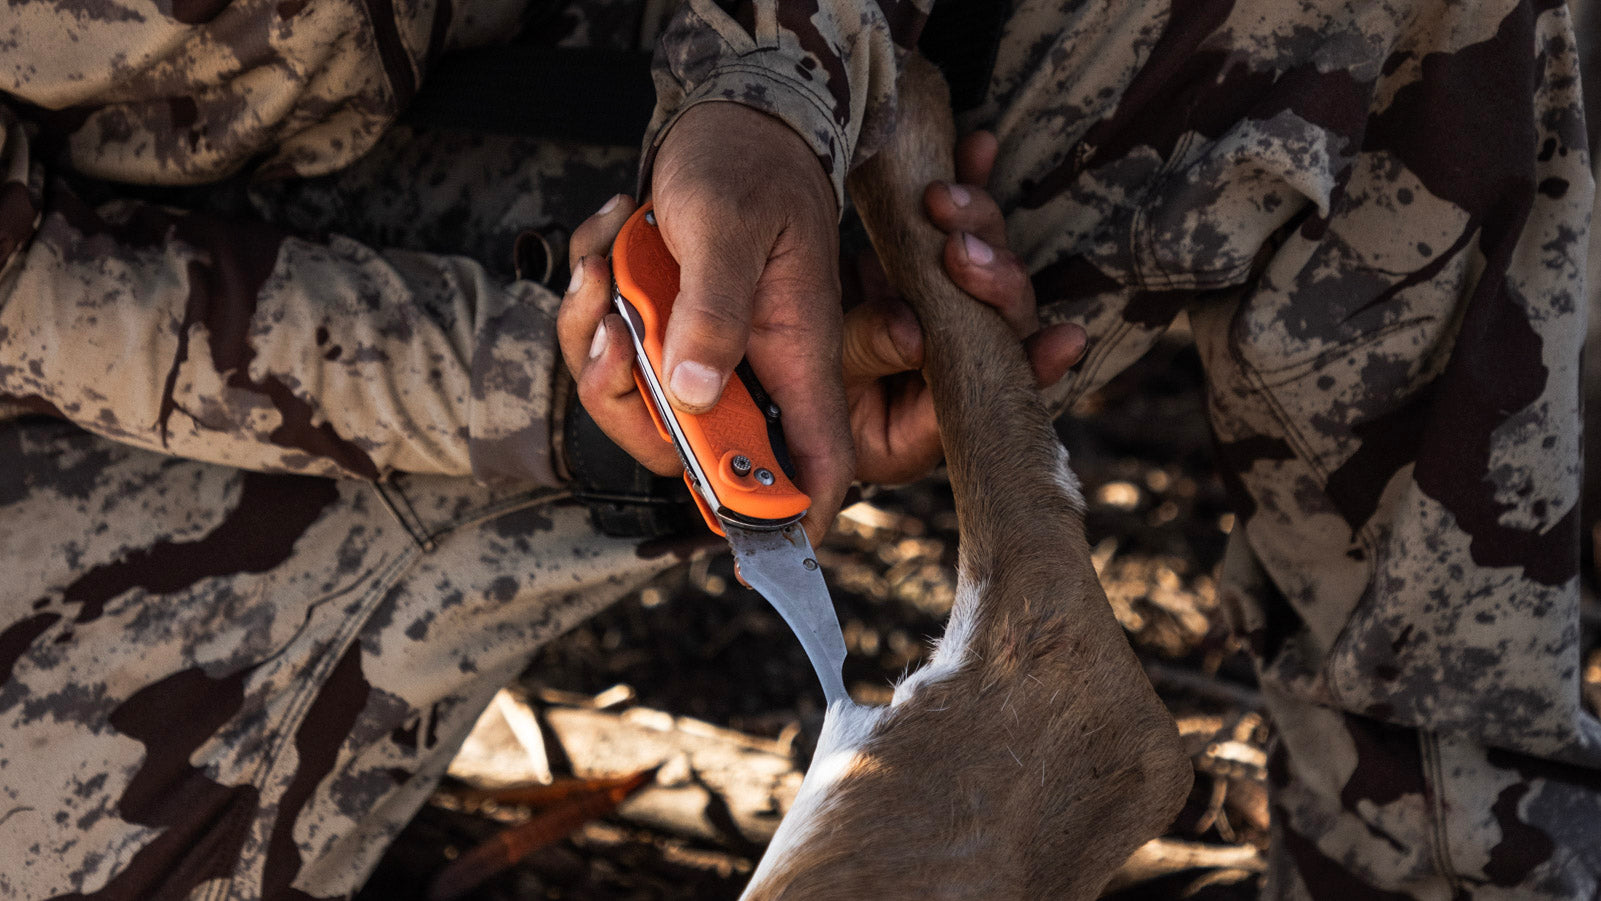
- Boning knife with a 5 inch blade. The RazorBone with a 500-code boning and fillet blade is the right answer for this job. The flex follows the bone instead of fighting it, and it is the boning specialist in the full RazorSafe blade profile lineup.
- Spare blades. Plan on 2 to 3 swaps for a whole deer. Connective tissue and silver skin dull a fine edge fast.
- Cut-resistant glove on the off hand. The hand holding the muscle. This is the hand that gets cut.
- Three bins: one for steaks and roasts, one for trim and grind meat, one for waste (silver skin, fat, bone scrap). Color-code them or label them clearly.
- Vacuum sealer and bags. Vacuum is the best home freezer storage for venison. Freezer paper works too if you double-wrap.
- Cooler with ice to hold quarters that are not on the table yet.
Set the table up before you bring the meat in. Walking back and forth for tools with bloody hands is how cross-contamination happens.
Step-by-step: boning the major muscle groups
This is the home processing sequence for a quartered deer (two hindquarters, two front shoulders, neck, loins, and backstraps, plus rib and flank trim). Work one quarter at a time. Keep the rest in the cooler on ice.
- Start with a clean, cold carcass. The deer should already be field-dressed, skinned, and chilled to 40 degrees Fahrenheit or below. Cold meat firms up and cuts cleaner than warm meat. If it is still warm, hang it longer before boning.
- Remove the backstraps first. The backstraps sit along both sides of the spine, on top of the ribs. Run the 5 inch boning blade along the spine, edge angled toward the bone. Then run it along the top of the ribs to free the strap from below. Pull the whole strap off in one piece. Repeat on the other side. These are the prize cuts. Treat them well.
- Remove the tenderloins from inside the cavity. The tenderloins (smaller, more tender than the backstraps) sit on the inside of the carcass along the spine, just forward of the pelvis. Lift each one up and slice it free at both ends. Two short, narrow pieces of muscle. Worth their weight in gold.
- Separate the front shoulder from the carcass. The front shoulder is not connected to the body by a joint. Lift the leg, slide the blade between the shoulder blade and the ribcage, and cut through the connective tissue. The whole shoulder comes free as one piece.
- Bone out the front shoulder. Lay the shoulder flat. Run the blade along the bones (scapula, humerus, radius/ulna) and lift the muscle groups off. The front shoulder is mostly grind meat and a few small roasts. Do not chase perfection here. Trim what comes off the bone clean, send the rest to the grind bin.
- Work the hindquarter on the table. Lay one hindquarter flat. The hindquarter has four big muscle groups: top round, bottom round, sirloin tip, and eye of round. Each one is separated by a natural seam of connective tissue. Follow the seam with the tip of the boning blade. Lift, peel, separate.
- Free the muscle groups along the seams. Push your off hand into the seam and lift the muscle. Run the blade along the silver connective tissue. Each muscle should come off as one clean roast-shaped piece. Resist the urge to cut through muscle. Stay on the seams.
- Strip the shanks for grind. The lower legs (shanks) are tough but flavorful. Cut the meat off the shank bones in strips. All of this goes to the grind bin.
- Repeat on the second hindquarter and shoulder. Same sequence, mirror image. By the second side you are 20 minutes faster.
- Strip the rib meat and flank. Run the blade along the rib bones to lift the thin layer of meat. Trim the flank from the belly. All of this is grind material unless you are making bacon or guanciale-style cures.
- Sort, trim, and package. Trim silver skin off the prize cuts (backstrap, tenderloin, top round). Leave it on the grind meat (the grinder eats it). Vacuum-seal in meal-size portions. Label every bag with cut name and date. Freeze immediately.
Trimming silver skin and connective tissue
Silver skin is the iridescent connective membrane that sits between the hide and the muscle, and again between major muscle groups. It does not break down in cooking. It contracts under heat and turns a perfectly good steak into a curled, chewy disc.
The technique is simple. Slip the tip of the 5 inch blade under one edge of the silver skin. Grab the freed flap with your off hand. Run the blade flat against the muscle, edge angled slightly up toward the silver skin, with a steady left-to-right sawing motion. The silver skin lifts away in a long strip. Done right, you lose almost no meat.
Trim silver skin on anything you plan to cook whole or as a steak. Skip it on grind meat (the grinder handles it). Skip it on jerky strips (you cut across the grain anyway).
Storage and yield expectations
Yield from a field-dressed deer is roughly 35 to 50 percent boneless meat. The wide range is driven by age, sex, gunshot or arrow damage, and how clean you trim. Use the table below to set expectations.
| Field-dressed weight | Boneless yield (low end) | Boneless yield (high end) | Approx. ground meat |
|---|---|---|---|
| 100 lb | 35 lb | 50 lb | 15 to 20 lb |
| 125 lb | 44 lb | 62 lb | 20 to 28 lb |
| 150 lb | 52 lb | 75 lb | 25 to 35 lb |
| 175 lb | 61 lb | 87 lb | 30 to 40 lb |
| 200 lb | 70 lb | 100 lb | 35 to 50 lb |
Vacuum-sealed venison holds quality for 12 to 18 months at zero degrees Fahrenheit. Freezer-paper wrapped venison holds for 6 to 9 months before freezer burn becomes a real issue. Label the date. Eat the oldest cuts first.
Boning a hindquarter vs. a front shoulder
The two halves of the deer come apart differently and ask for different attention at the table.
| Quarter | Approach | Best outcome | Blade time |
|---|---|---|---|
| Hindquarter | Follow the natural seams to separate 4 muscle groups | Roasts, steaks, kabob blocks | 20 to 30 minutes per side |
| Front shoulder | Strip muscle off the scapula and humerus, do not chase seams | Roasts, stew meat, mostly grind | 10 to 15 minutes per side |
A 5 inch boning blade matters more on the front shoulder than on the hindquarter. The shoulder has more bone contact, more curve, and more places where the flex of a thin blade saves you from leaving meat on the bone. A fixed butcher knife will get the job done, but it will leave 2 to 3 pounds of meat behind that a flexing 5 inch boner would have recovered. And if that bone contact has you wondering whether a thin replaceable blade can hold up to big-game processing, it can. Here is why replaceable-blade knives are strong enough for big game.
5 inch boning blade vs. fixed butcher knife
The question comes up every season. Here is the honest comparison for home venison processing.
| Factor | 5 inch boning blade (500-code) | Fixed butcher knife |
|---|---|---|
| Edge maintenance | Swap fresh blade in 10 seconds, no sharpening | Stop and steel or strop mid-deer |
| Flex | Springy spine follows curved bones | Stiff, cuts straight through muscle |
| Yield recovery | Picks up 2 to 3 lb extra off shoulder bones | Leaves more on the bone |
| Cost over season | One handle, four to six blades per deer at low cost | One knife, ongoing sharpening time |
RazorBone (500 handle) · 500-code boning and fillet blades
Frequently asked questions
How long does it take to bone out a deer?
About 90 minutes for a 150 pound field-dressed deer that has been quartered. First-timers should plan on 2 to 3 hours. The job goes faster once you trust the natural seams in the hindquarter and stop trying to cut through muscle. Most of the time savings come from learning where to push with the off hand and where to let the blade do the work.
How much meat do you get from a deer?
Boneless yield from a field-dressed deer runs 35 to 50 percent of field-dressed weight. A 150 pound field-dressed deer produces 52 to 75 pounds of boneless meat, of which 25 to 35 pounds is typically ground. Yield varies with age, sex, shot placement, and how clean you trim. A poorly placed shot can cost 5 to 10 pounds in damaged meat alone.
Is it better to bone out a deer or leave it bone-in?
Boneless storage takes about half the freezer space, gives you full flexibility on how each muscle gets cooked, and lets you weigh exactly what you have. The trade-off is 90 minutes of table time at home. For most hunters with a chest freezer and any cooking ambition, boning out is the better answer. Bone-in storage makes sense only for very short-term storage or for hunters who plan to roast every quarter whole.
What knife do you use to bone out a deer?
A 5 inch boning blade with some flex in the spine. The flex follows curved bones and keeps you from leaving meat on the bone. A 500-code RazorSafe boning and fillet blade on a RazorBone handle is built for exactly this profile. A fixed boning knife works too, but expect to sharpen mid-job. A replaceable-blade system swaps to a fresh edge in 10 seconds.
Should you trim silver skin before freezing?
Yes, on anything you will cook whole or as a steak (backstrap, tenderloin, top round, eye of round). Silver skin does not break down in cooking. It contracts under heat and curls the meat. Trim it before vacuum-sealing. Skip the trimming on grind meat (the grinder handles it) and on jerky strips (you cut across the grain anyway).
Can you bone out a deer the same day you kill it?
Technically yes, but it is harder and the results are worse. Warm meat is soft and slippery, the muscle groups have not firmed up, and the silver skin will not lift cleanly. The standard workflow is field-dress, skin, cool to 40 degrees Fahrenheit or below (usually overnight in cool weather), then bone out. If you must process same-day in warm weather, get the quarters on ice for at least 4 to 6 hours first.
Author: Outdoor Edge Pro Staff. 2026-06-30.

Leave a comment
This site is protected by hCaptcha and the hCaptcha Privacy Policy and Terms of Service apply.